Azure Key Vault is a secret management solution for storing and accessing encrypted secrets such as API keys, passwords, certificates, and so on. Key Vault also offers various hardware security-related modules but these are beyond the scope of this demonstration. Typically, applications require these secrets to access other resources and establish secure connections. In such cases, managing access to Key Vault becomes necessary. Azure Active Directory, which is the security and identity management resource of the Azure portal, plays a crucial role in fulfilling this need.
In this blog post, I'll demonstrate a simple use case by creating a Python app that accesses Azure Key Vault while authenticating with the Azure Active Directory (AD/Microsoft Entra ID) service principal access model.
Before starting the demo, the application we'll create will require some credentials to access the Azure Key Vault resource. We need to register the application and create a service principal in Azure Active Directory / Microsoft Entra ID to proceed. Here is the link that shows how to create a service principal and how to get the Application Client ID and Client Secret to be used in the application: https://learn.microsoft.com/en-us/azure/active-directory/develop/howto-create-service-principal-portal. If you want to try out the demo on your side, you'll need to acquire a Client ID and a Client Secret to effectively run this demonstration.
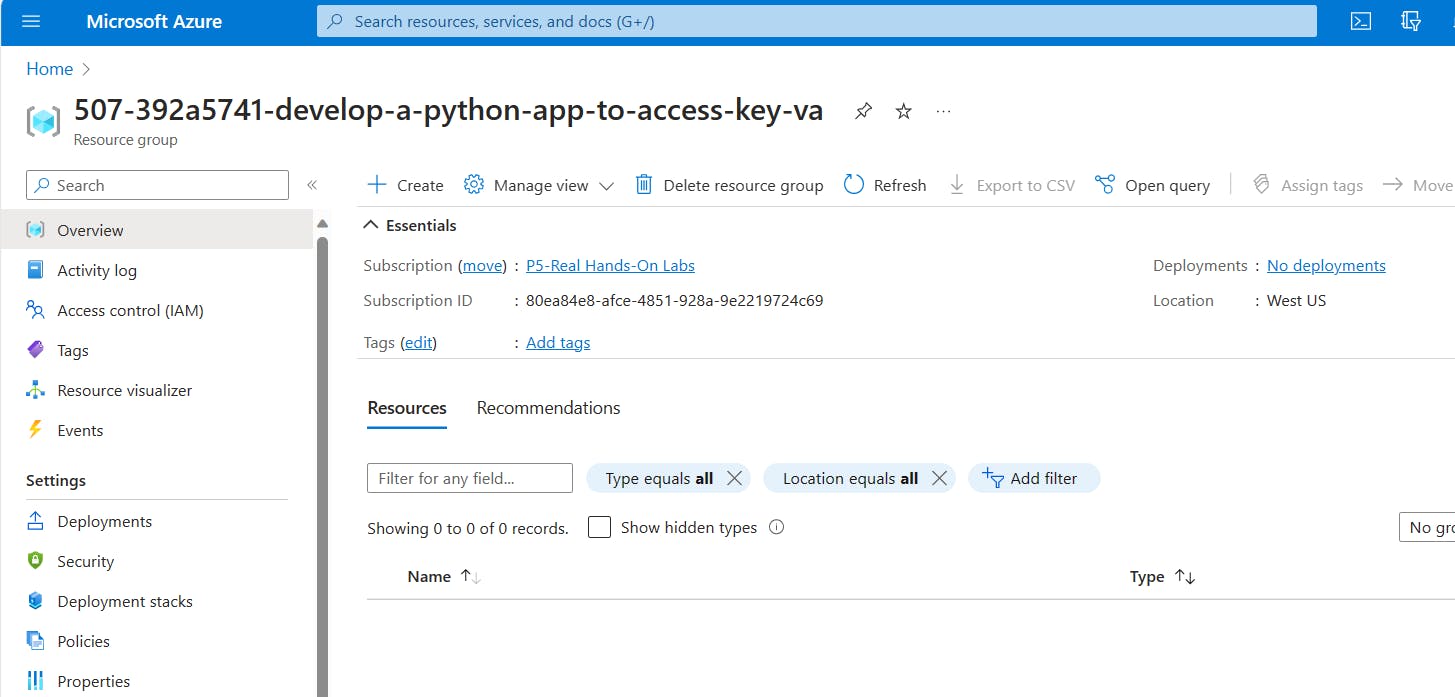
We need to create a Key Vault service in the Azure portal. To do that, go to/create Resource Group and click Create.
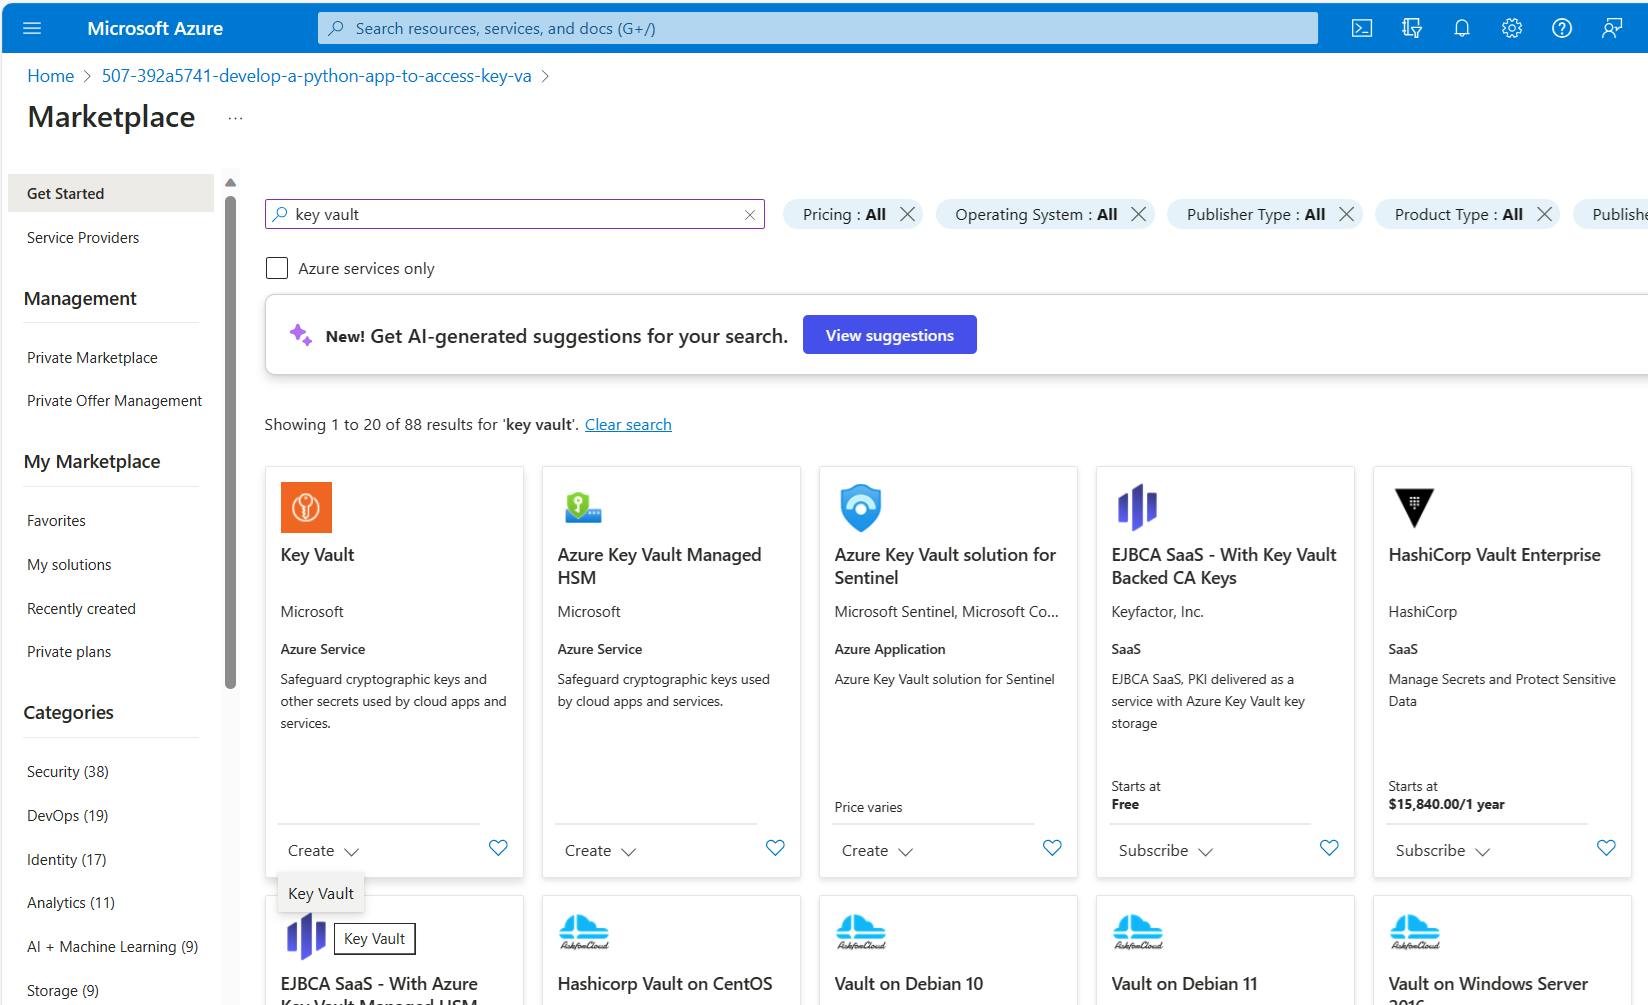
- Search for the term "key vault", focus on the Key Vault service, and click the Create button.
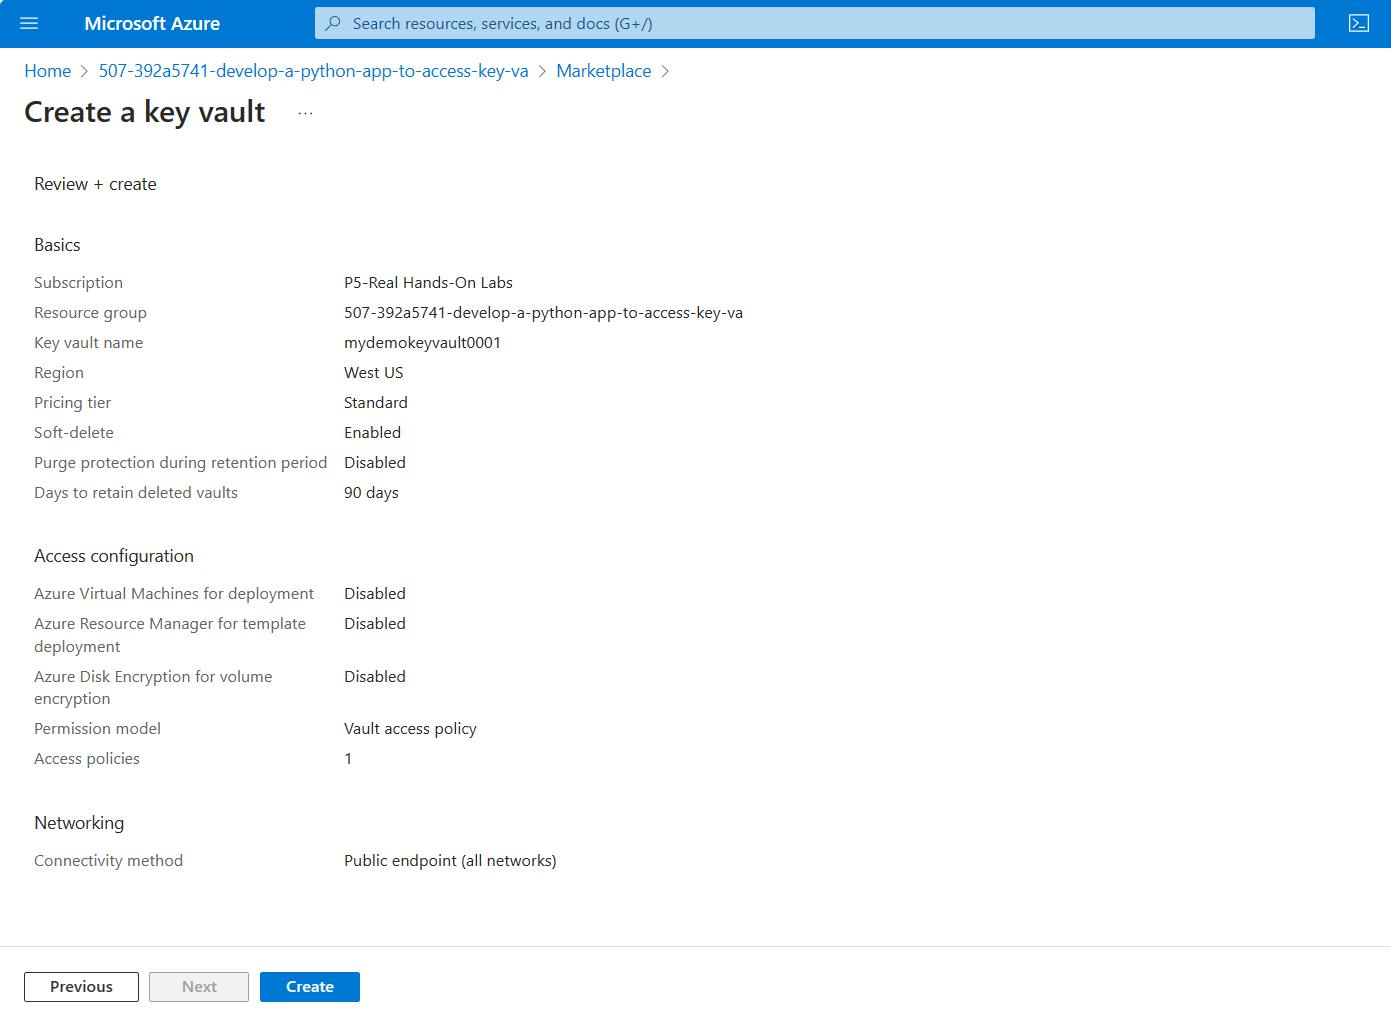
- Specify a unique name for your Key Vault, and choose your region and the pricing tier. I prefer to move on with Standard pricing for demo purposes. Click Next.

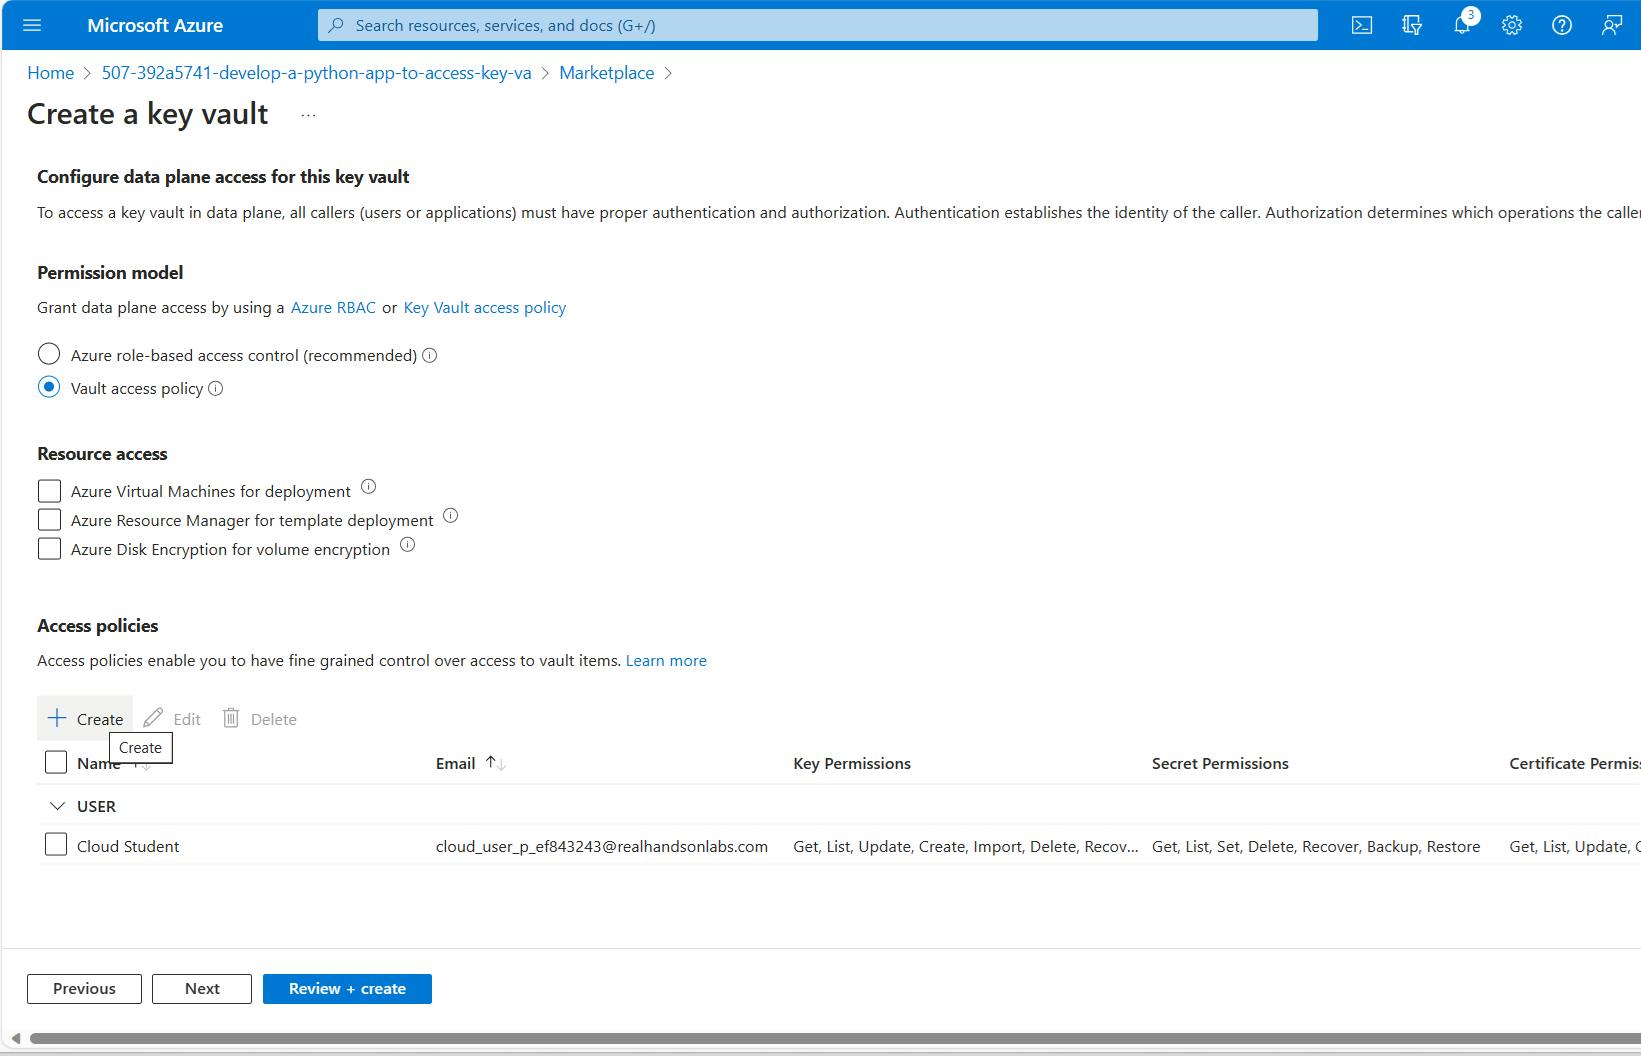
- On the second tab, choose "Vault access policy", under the Access policies section, click on "+ Create". This will open a right panel.
- On the Create an access policy panel, choose "Key, Secret, & Certificate Management" from the dropdown list. You can leave permission preferences as is since this is just a demo and we're not much concerned about the production settings. Click on Next.
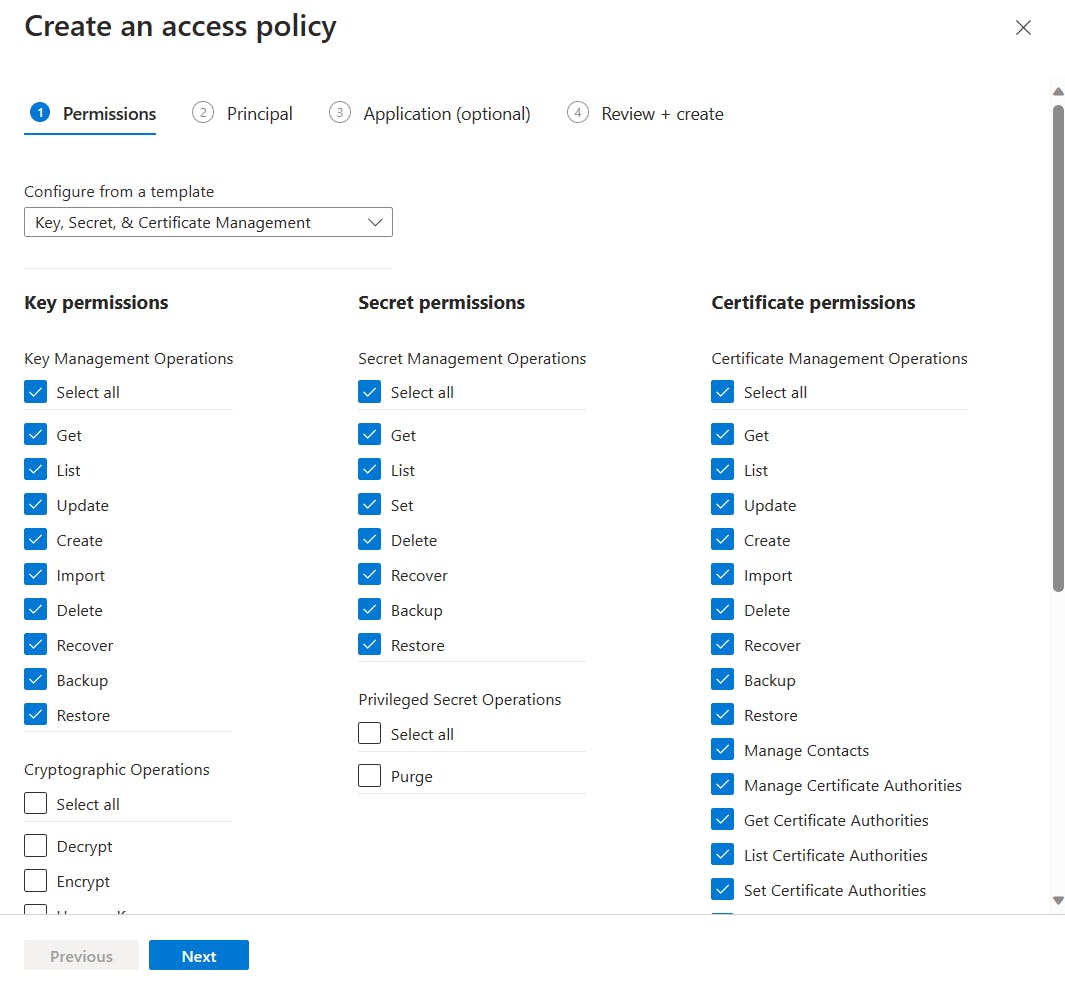
- We can link the service principal (the one we acquired before starting) with the new Key Vault service to allow applications to access the Key Vault service. To do this, copy your Client ID and paste it into the search box. This will filter out the associated service principal. Click on the listed application and select. Click Next.
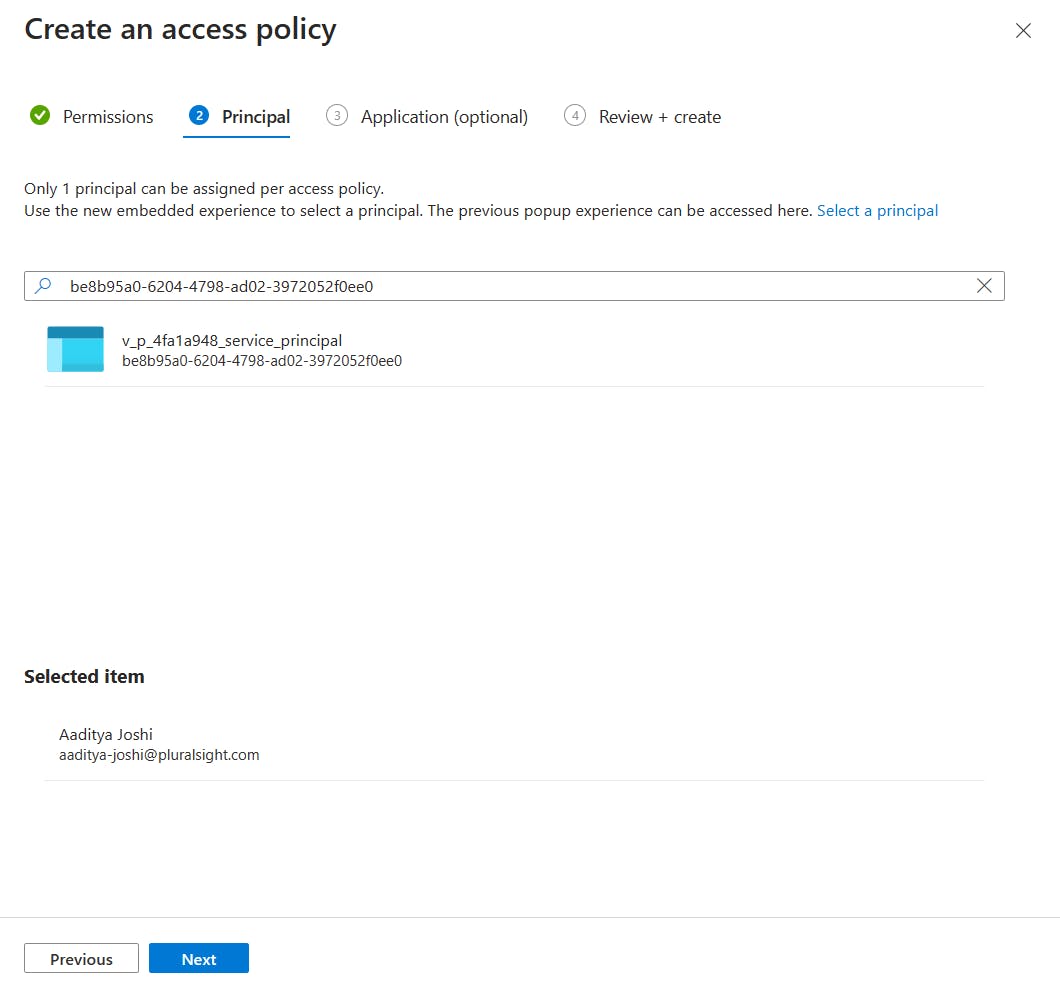
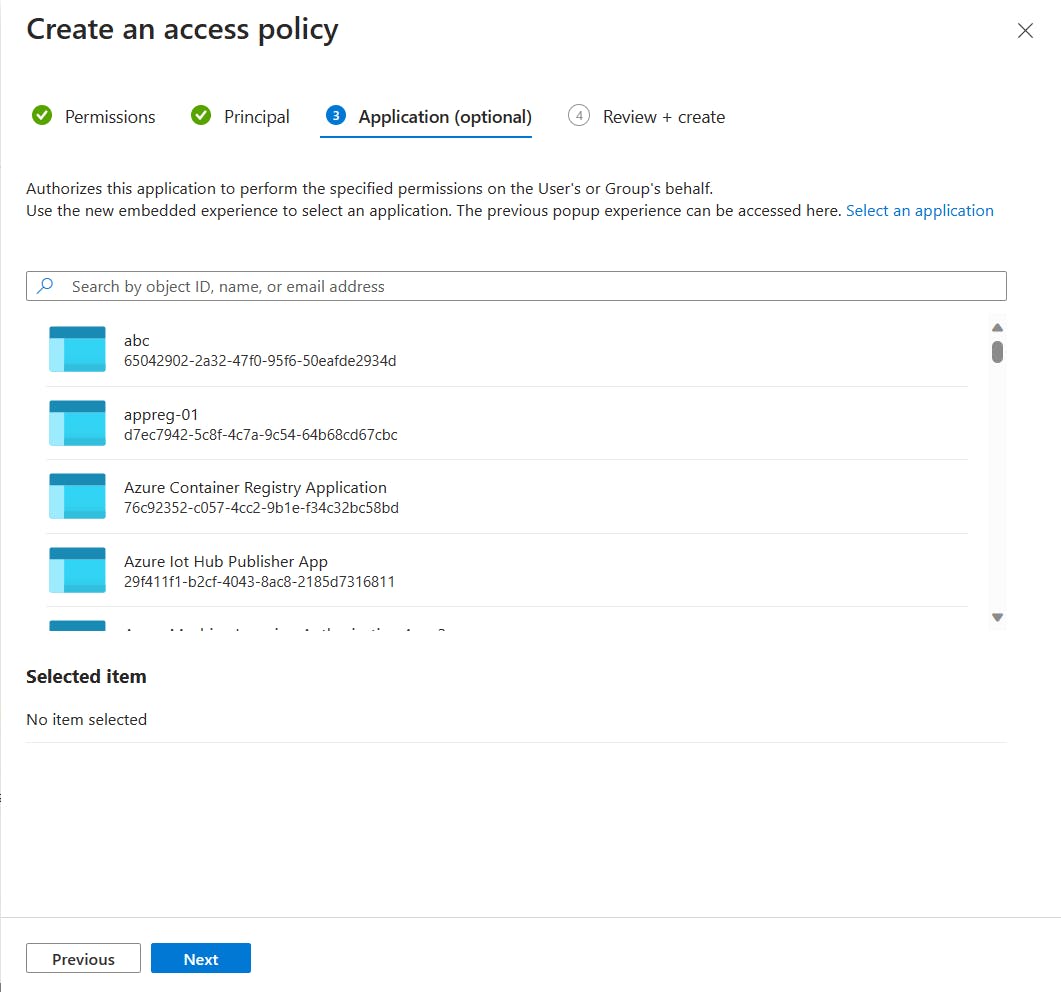
- The application tab is optional. Click Next.
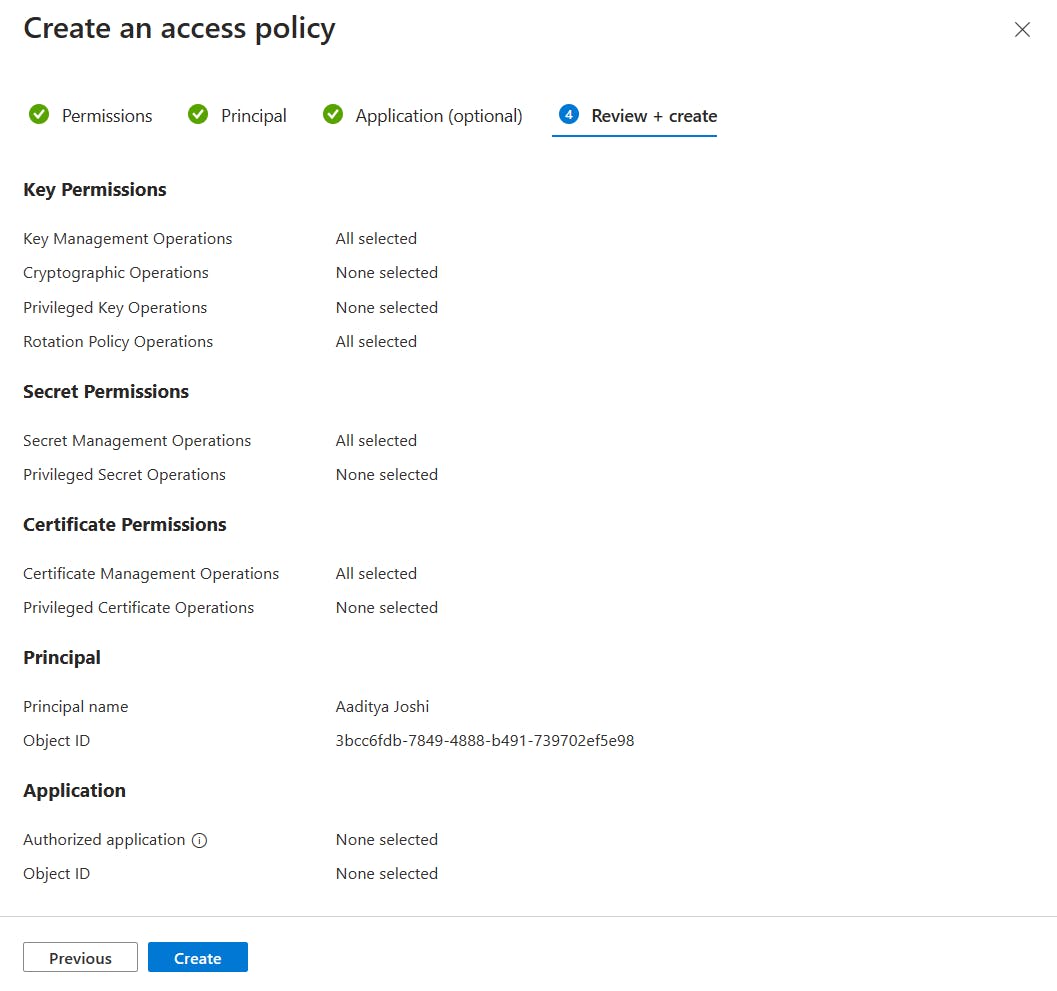
- Click Create on the Review + Create page.
- On Create a key vault page click on Create. We're now eligible to access the Key Vault service with our Client ID and Client Secret.
- We're ready to create our application. We can start by opening the Cloud Shell. Then create a folder to store application files. Open the new folder and create a new .py file which will include our codes.

- We need to use two Azure packages for this demo; one is for authentication and the other is for working with Key Vault. These are the identity package and the key vault secrets package. Run "pip install azure.identity" and "pip install azure.keyvault.secrets" to install the packages for Python.


- In the console window type "code ." or click "{ }" icon to open the Editor. Expand the new folder. I have the pythonapp folder in my case. Open the Python file. Copy and paste the following code. We'll configure the application in the following steps.
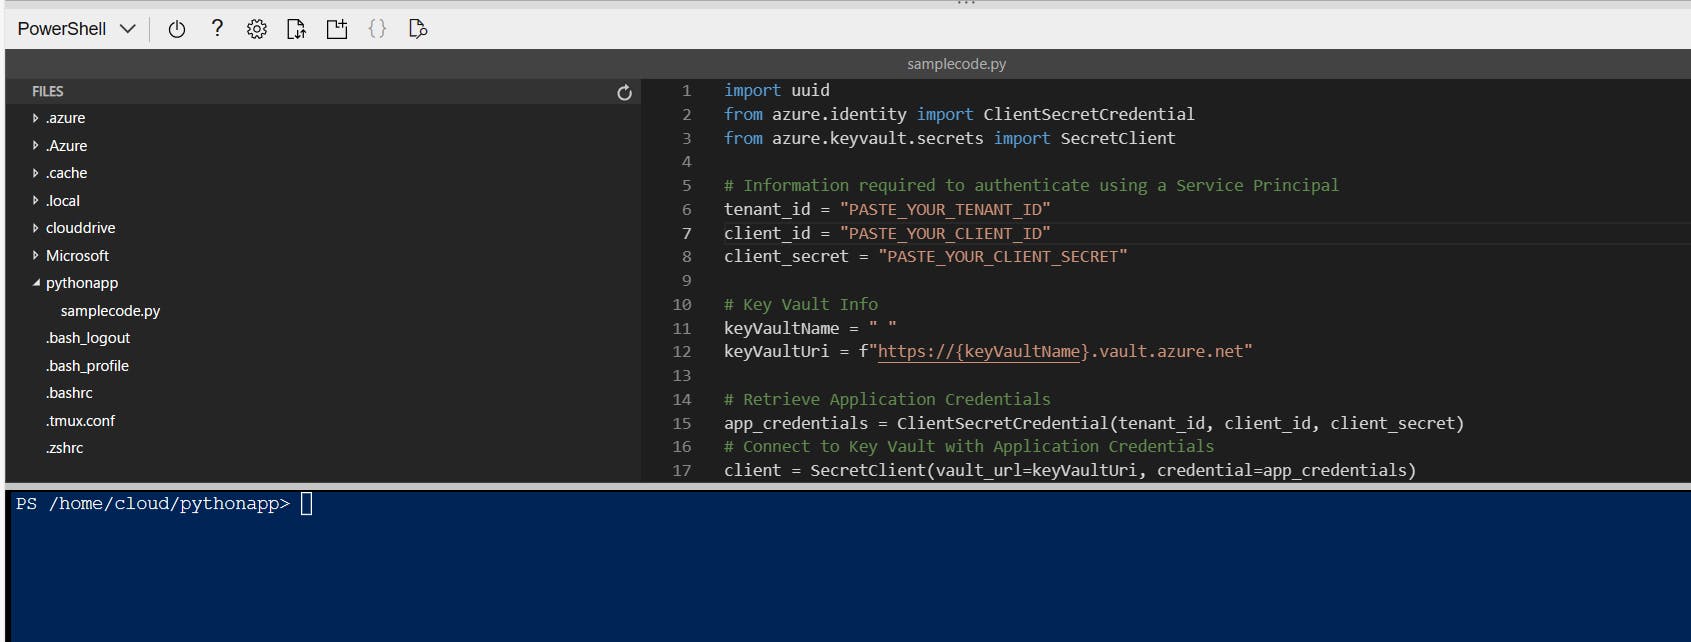
import uuid
from azure.identity import ClientSecretCredential
from azure.keyvault.secrets import SecretClient

# Information required to authenticate using a Service Principal
tenant_id = "PASTE_YOUR_TENANT_ID"
client_id = "PASTE_YOUR_CLIENT_ID"
client_secret = "PASTE_YOUR_CLIENT_SECRET"

# Key Vault Info
keyVaultName = " "
keyVaultUri = f"https://{keyVaultName}.vault.azure.net"

# Retrieve Application Credentials
app_credentials = ClientSecretCredential(tenant_id, client_id, client_secret)
# Connect to Key Vault with Application Credentials
client = SecretClient(vault_url=keyVaultUri, credential=app_credentials)

# Check whether user has created a secret in KV to retrieve
existingSecretCreated = input("\nWould you like to retrieve an existing secret? (Y/N):  ")
if existingSecretCreated.strip() in ('Y', 'y'):
  # Read the secret
  existingSecretName = input("What is the name of the existing secret:  ")
  print(f"Now retrieving existing secret, '{existingSecretName.strip()}' from {keyVaultName}...", end=' '),
  try:
    existingSecret = client.get_secret(existingSecretName.strip())
  except Exception as readEx:
    print("\tERROR\n")
    print(f"{readEx}\n\nMoving on to next step ...\n")
  else:
    print("\tOK!\n")
    print(f"The existing secret in {keyVaultName}, called '{existingSecretName}, has a value of '{existingSecret.value}'\n")

if existingSecretCreated.strip() in ('N', 'n'):
    print("Not checking existing secret ...\n")

# --------------------

# Would you like to create a new secret?
newSecret = input("Would you like to create a new secret? (Y/N): ")
if newSecret.strip() in ('Y', 'y'):
  # Let's create it
  newSecretName = input("Enter a name for your new secret:  ")
  newSecretValue = input("Enter a value for your new secret:  ")

  # Create the new secret
  print(f"Now creating a new secret in {keyVaultName}, called '{newSecretName.strip()}', with value '{newSecretValue}' ...", end=' ')
  try:
    client.set_secret(newSecretName.strip(), newSecretValue)
  except Exception as writeEx:
    print("\tERROR\n")
    print(f"{writeEx}\n\n")
  else:
    print("\tOK!\n")

# --------------------

print ("\nAll done. Goodbye!")
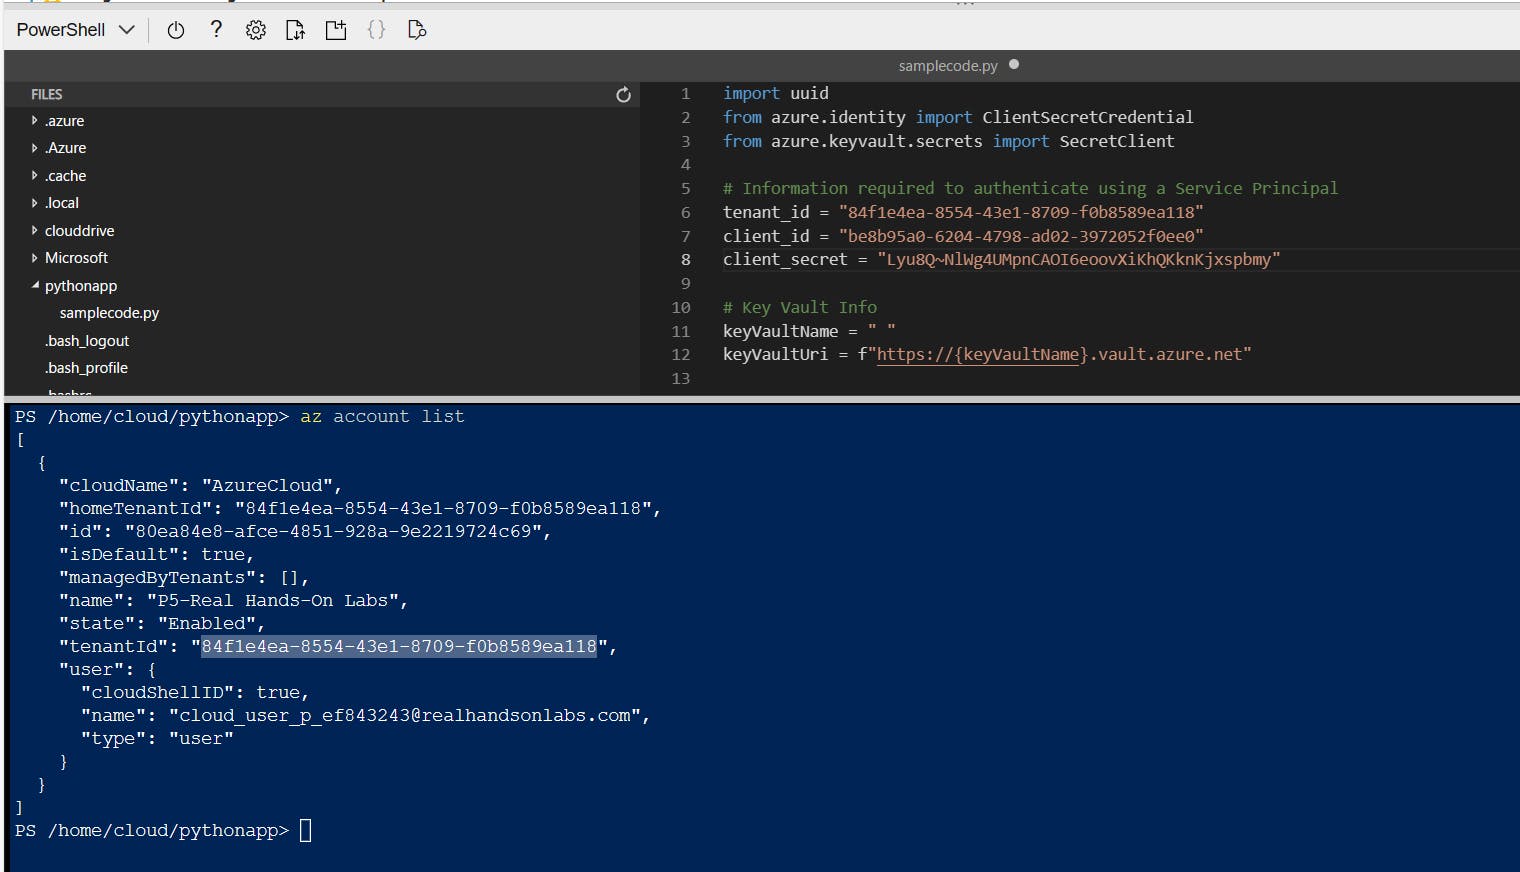
- We'll need to provide and use the Tenant ID value which is necessary for identity steps. We can find the Tenant ID value by running "az account list" command. Copy the Tenant ID and paste it in the relevant line in the code. Copy and paste Client ID and Client Secret values into the code.
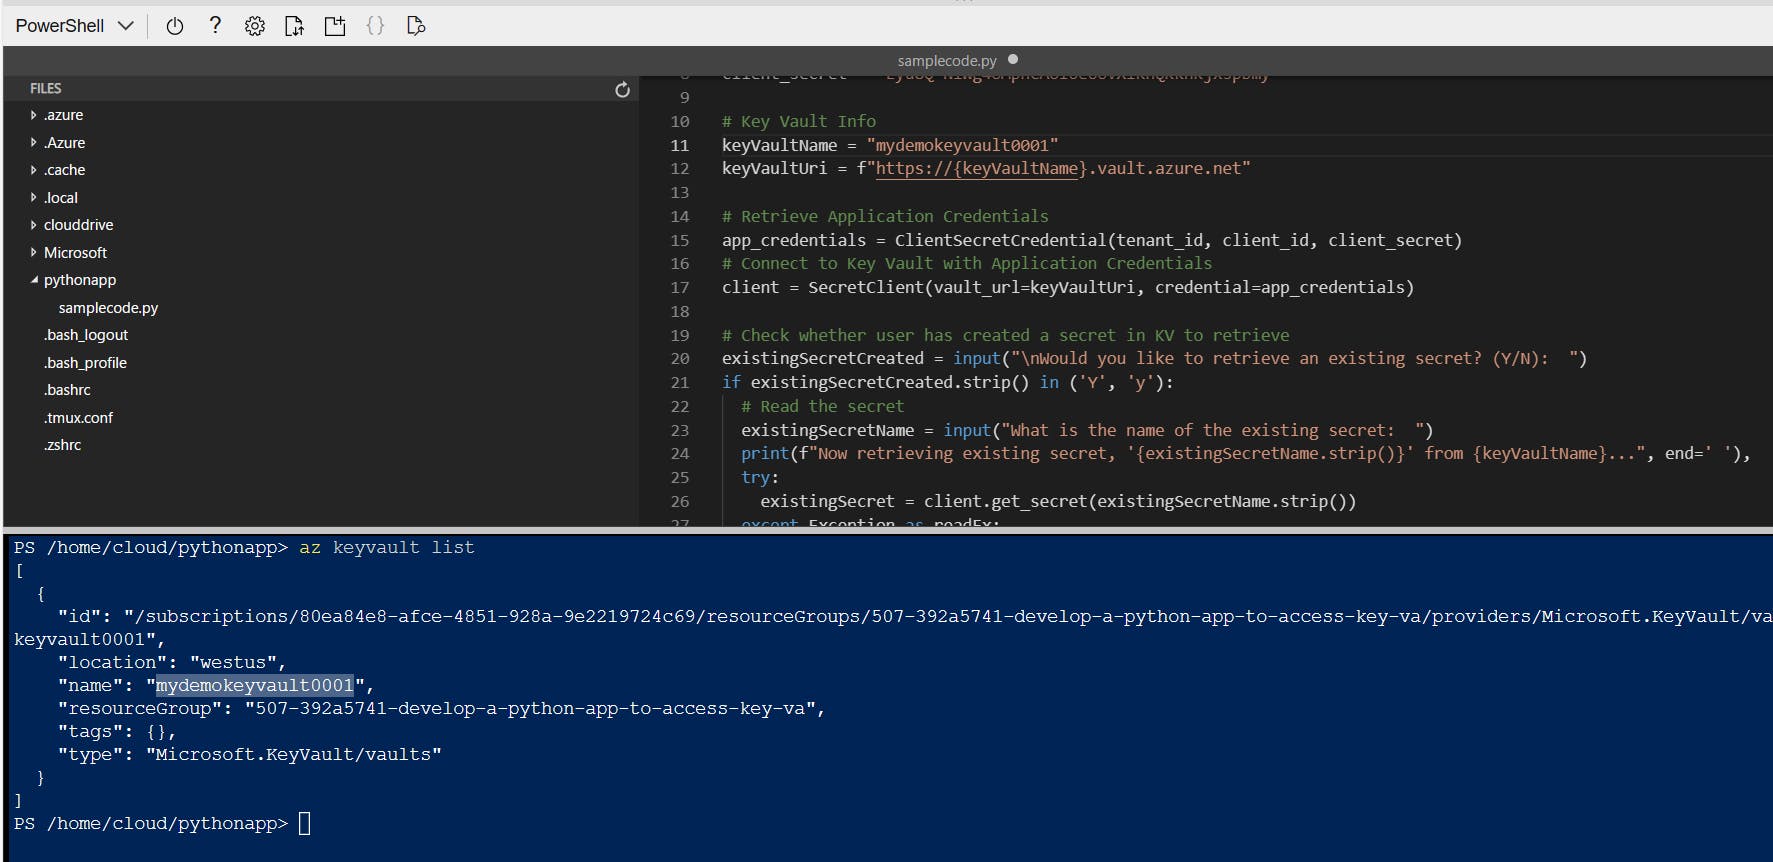
- In the command line run "az keyvault list" command to list the available list of Key Vault resources. Copy the name of the corresponding Key Vault resource. In the code file, navigate to the "keyVaultName" line and paste the copied name value. Save the file.
It's time to run the application. I have to confess that I got an authentication error on my first run. The problem was I had pasted the wrong Client ID in the code file. We learn a lot from bugs and errors :)
Now we can run the code by executing "python yourfile.py" command.

When you're prompted "Would you like to retrieve an existing secret?" type "n" and press Enter.
When you're prompted "Would you like to create a new secret?" type "y" and press Enter.
You'll be prompted for a secret name and a secret value. Type your values and press Enter.

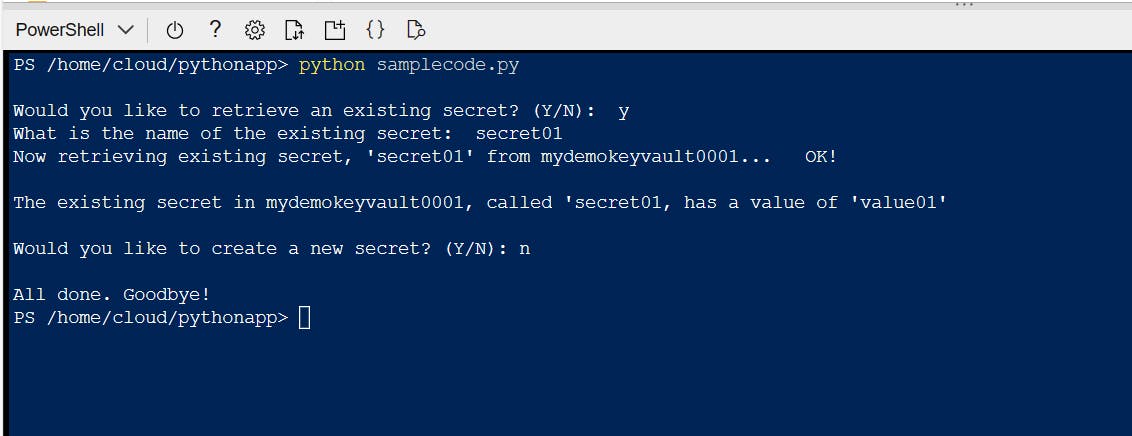
We can verify if our secret is stored properly. For this, we'll run the application again and we'll follow the second path this time.
When you're prompted "Would you like to retrieve an existing secret?" type "y" and press Enter.
When you're prompted "What is the name of the existing secret?" type the name of your secret and press Enter.
Check and see if your secret value matches the value you defined while creating it. I'm satisfied with the response I received from Cloud Shell :)
That's it! Hope you find this helpful.
