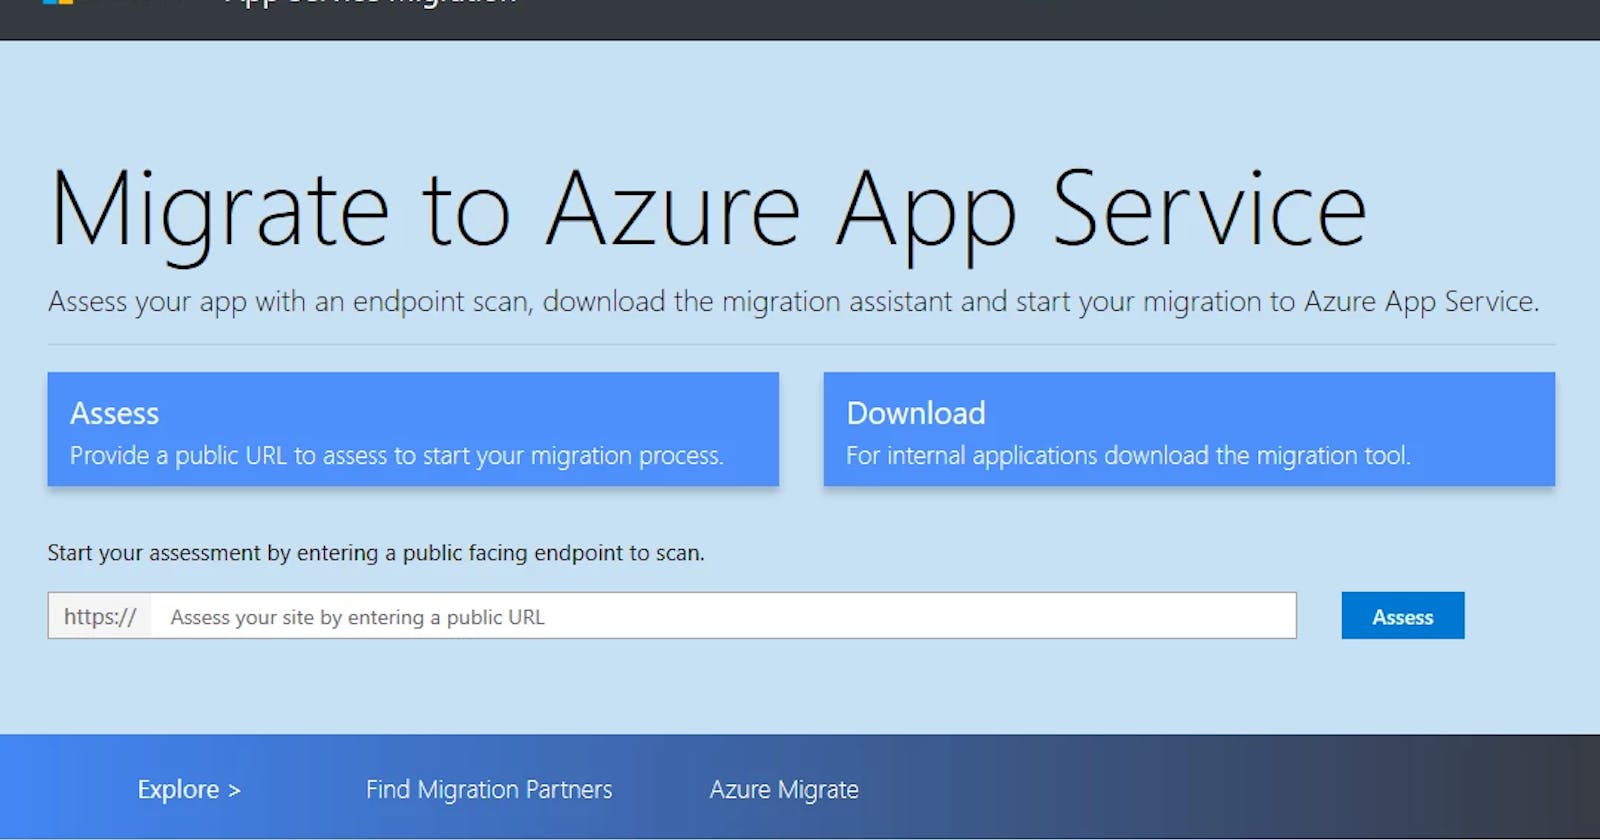


App Service Migration Assistant is a tool introduced by the Microsoft Azure team to help their partners move ASP.Net websites to Azure App Services quickly and easily. The tool (App Service Migration Assistant GitHub Wiki Page) first can scan your application URL and assess whether your app is in good shape for a potential migration. After getting the assessment done, you can download and install the Migration Assistant on your Web server. After running a readiness analysis by scanning application configuration, the Migration Assistant tool can migrate your website/app to the Azure App Service.
In this blog post, I'll demonstrate a simple migration case by moving my on-premise ASP.Net application to the App Service with the help of Migration Assistant as explained in the below steps.
Enable the IIS Web Server feature on a Windows Server by running this Powershell script code:
Install-WindowsFeature -Name Web-Server -IncludeAllSubFeature -IncludeManagementToolsCreate an HTML file under wwwroot folder to start hosting a simple webpage on the webserver at the default 80 port.
echo '<!doctype html><html><body><h1>Hello World!</h1></body></html>' > C:\inetpub\wwwroot\index.html
We can then browse the localhost:80 or yourpublicipaddress:80 URL and check whether the IIS server hosts our webpage properly.

We can now download and install the App Service Migration Assistant from this page.

Create a new project: Start the Migration Assistant. On the Start page, select your website and click on the Next button. This will trigger the assessment process.

An assessment without any errors indicates that your website is ready to migrate to Azure. Don't close the window. We'll continue from this page in the following steps.

We can now go to the Azure portal and prepare the portal for the migration process. In the portal, in the navigation menu on the left, under Migration goals, click Web apps. Click the Create project button, specify the Resource Group, define a project name, and make the Geography selection. Click on Create button and create the project.

Go to the web server and explore the page we left off on the Migration Assistant. Click on Next button. On the opening page, copy the code and click on the Copy code & Open Browser button. This will direct you to a web page. Paste the copied code into the box and click on Next. Complete your login by providing your credentials.

Completing the login process, on the Migration Assistant, the Azure Options page will appear. Choose the Resource Group that you've used to create the migration project. Give your website a unique name. This will become the web address of your App Service hosted web application. Click on Migrate button and this will create an App Service instance in your Resource Group.

To verify the migration success, you can navigate to the App Service resource in the Azure portal and browse your website URL address when the migration is completed.