Azure Cosmos DB is a managed NoSQL and distributed relational database designed for modern highly responsive app development. It offers real-time data access with low read and write latencies across multiple regions. It's also known for its high elasticity features, allowing easy global scaling.
In this demo, the use case scenario involves creating a database, provisioning a container, and adding an item to the container using the Azure SDK for .Net. Here are the steps I followed for this demonstration.
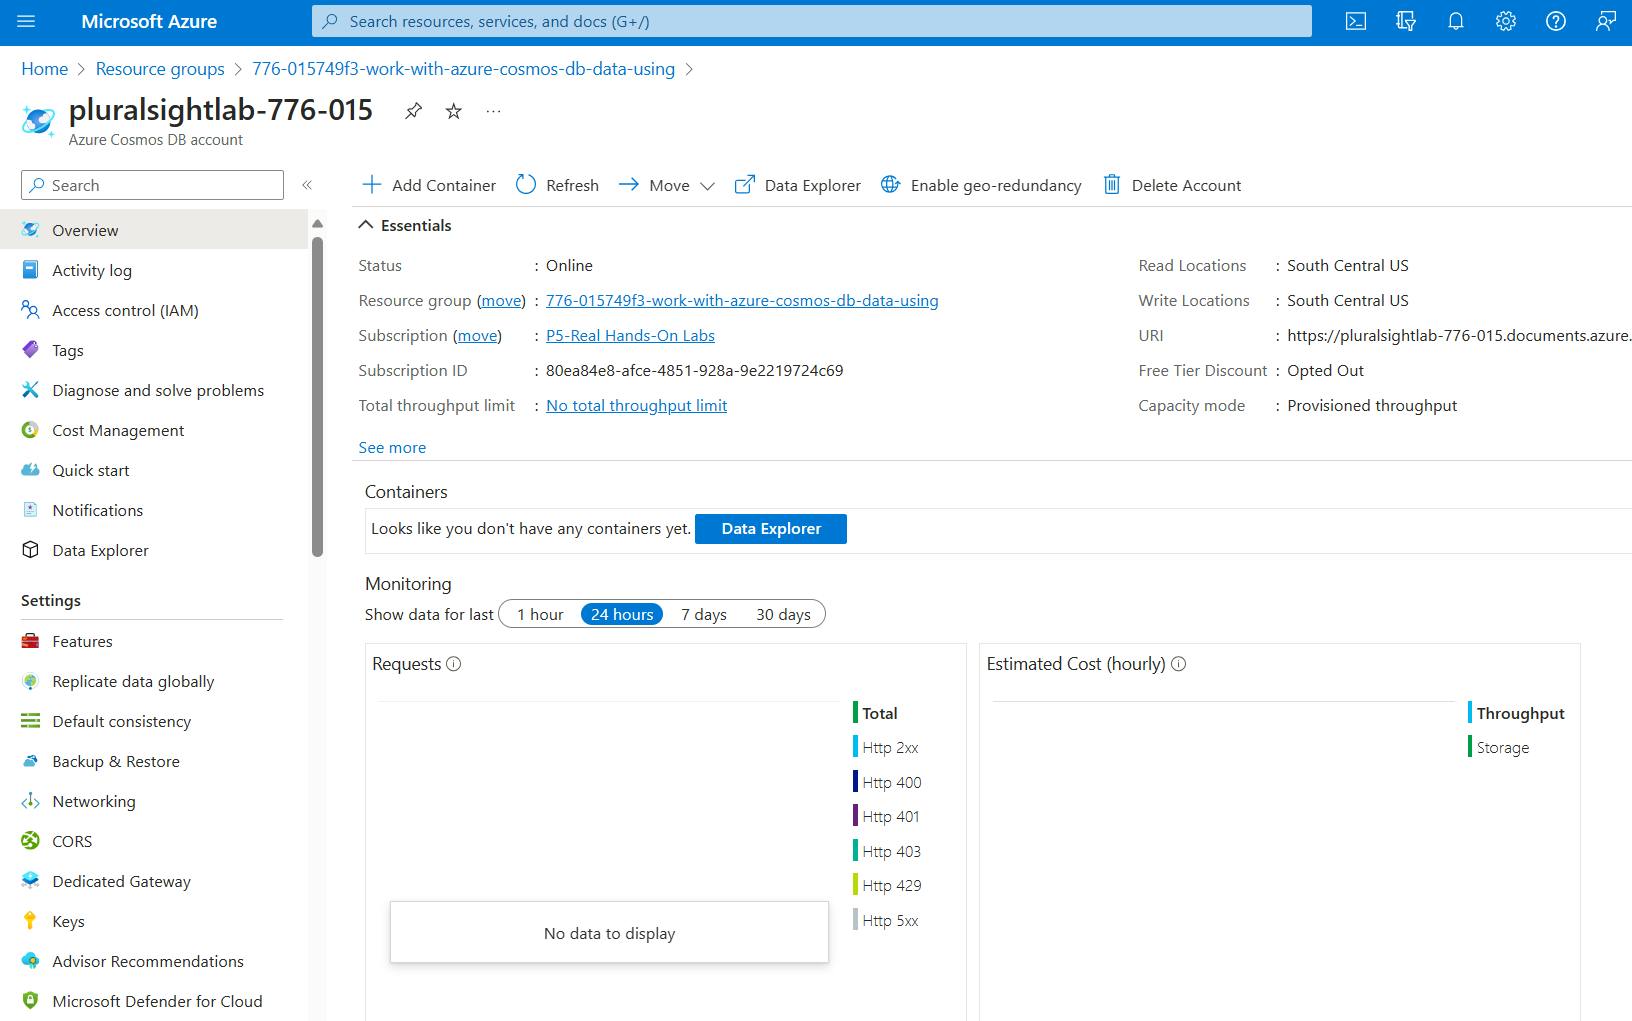
- Create an Azure Cosmos DB account in the Azure portal.
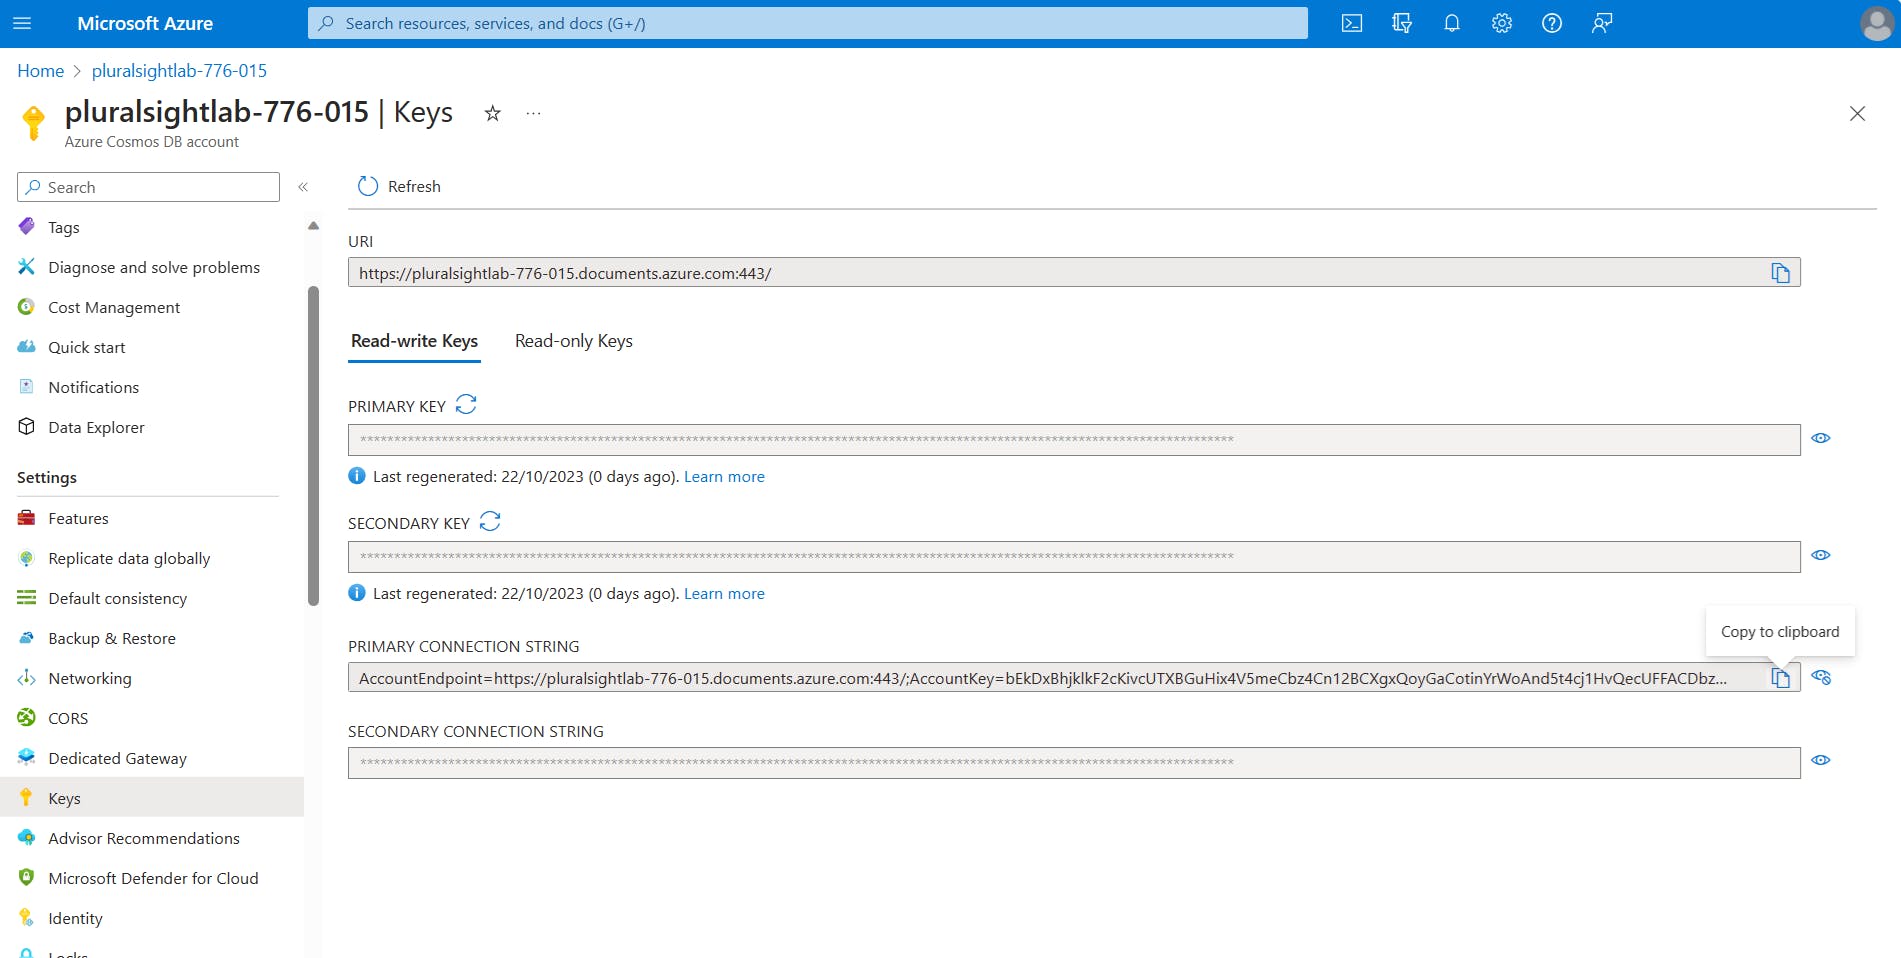
- On the Cosmos DB Account page, in the left menu, click Keys, and copy and save the primary connection string for later usage.
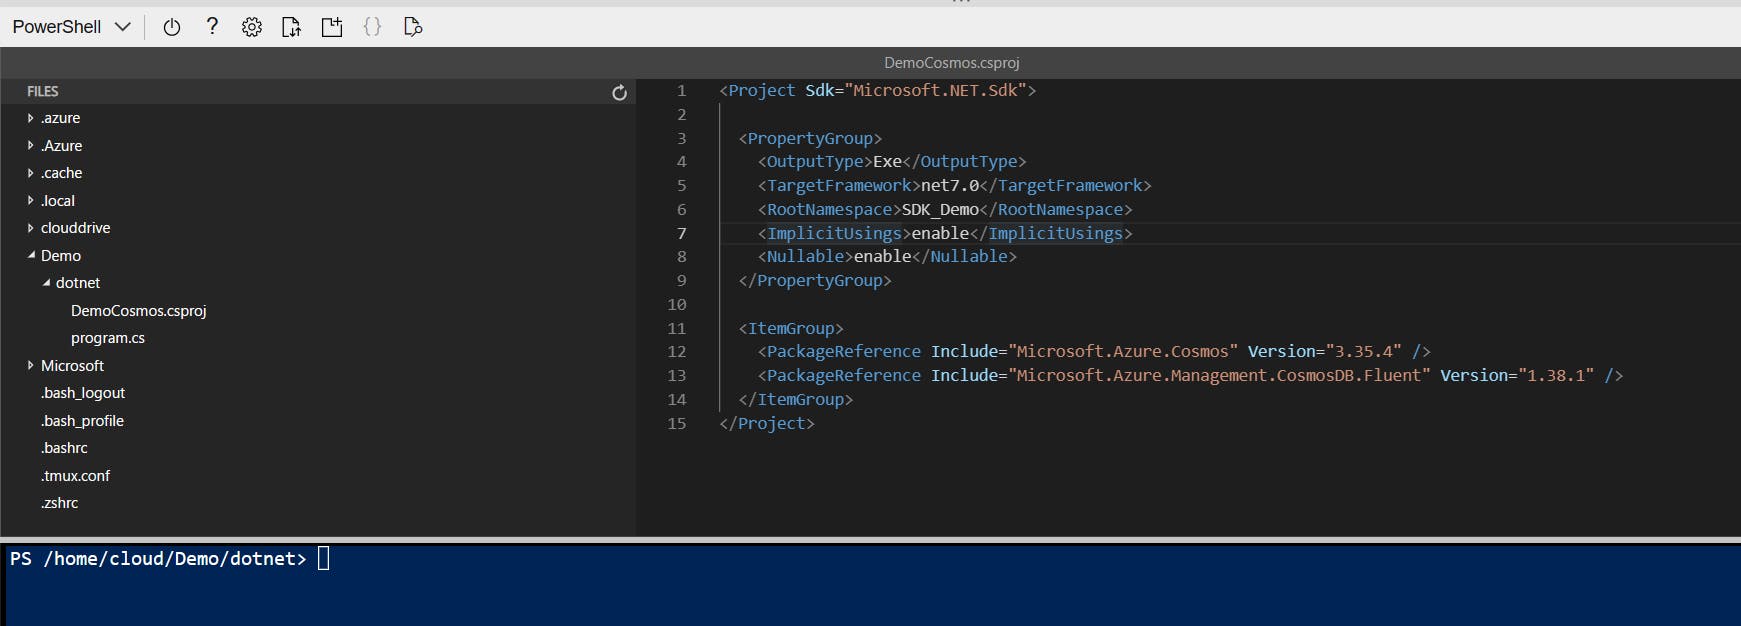
- Open the Cloud Shell and create "Demo > dotnet" folders as shown in the screenshot below.

- Inside dotnet folder, create DemoCosmos.csproj file.

- Inside dotnet directory, create program.cs file.

- On the Cloud Shell window, click "{ }" and open the Editor window. On the left menu, extend the dotnet folder, and copy & paste the following code into the DemoCosmos.proj file. Save the file. (You can specify newer versions of the packages if they have any, at the time of your tryout.)
<Project Sdk="Microsoft.NET.Sdk">

  <PropertyGroup>
    <OutputType>Exe</OutputType>
    <TargetFramework>net7.0</TargetFramework>
    <RootNamespace>SDK_Demo</RootNamespace>
    <ImplicitUsings>enable</ImplicitUsings>
    <Nullable>enable</Nullable>
  </PropertyGroup>

  <ItemGroup>
    <PackageReference Include="Microsoft.Azure.Cosmos" Version="3.35.4" />
    <PackageReference Include="Microsoft.Azure.Management.CosmosDB.Fluent" Version="1.38.1" />
  </ItemGroup>
</Project>
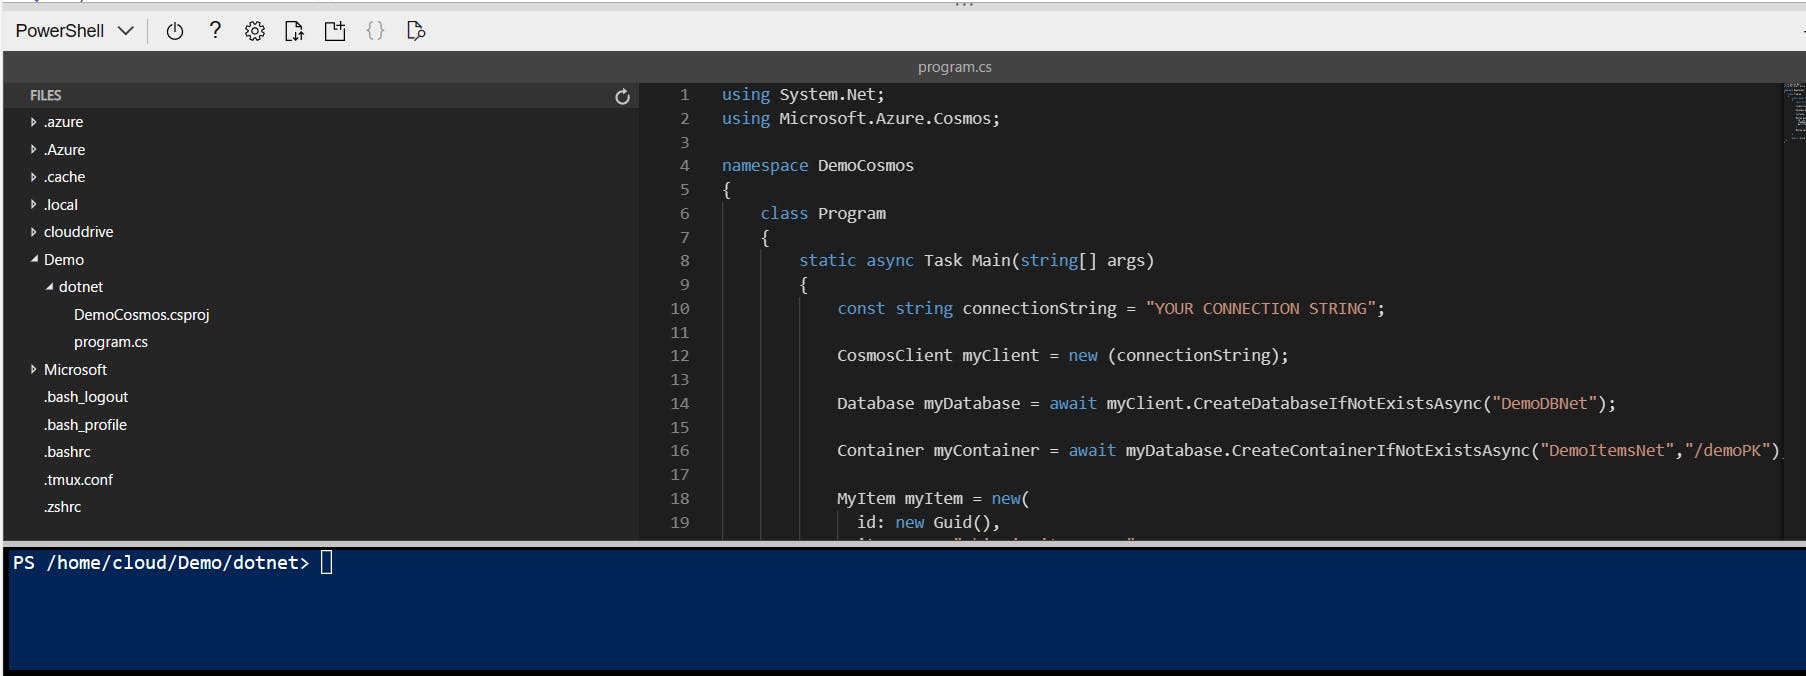
- Open program.cs file, copy & paste the below code, and Save the file. (Don't forget to add your own connection string.)
using System.Net;
using Microsoft.Azure.Cosmos;

namespace DemoCosmos
{
    class Program
    {
        static async Task Main(string[] args)
        {
            const string connectionString = "YOUR CONNECTION STRING";

            CosmosClient myClient = new (connectionString);

            Database myDatabase = await myClient.CreateDatabaseIfNotExistsAsync("DemoDBNet");

            Container myContainer = await myDatabase.CreateContainerIfNotExistsAsync("DemoItemsNet","/demoPK");

            MyItem myItem = new(
              id: new System.Guid().ToString(),
              itemName: "This is item name",
              demoPK: "PartitionCategory1"
            );

            MyItem upsertedItem = await myContainer.UpsertItemAsync<MyItem>(myItem, new PartitionKey(myItem.demoPK));

        }

        public record MyItem (string id, string itemName, string demoPK);
  }
}
- On the shell window, under the dotnet directory, build (dotnet build) the application. Once the application built is successfully completed run (dotnet run) the application.
dotnet build
dotnet run
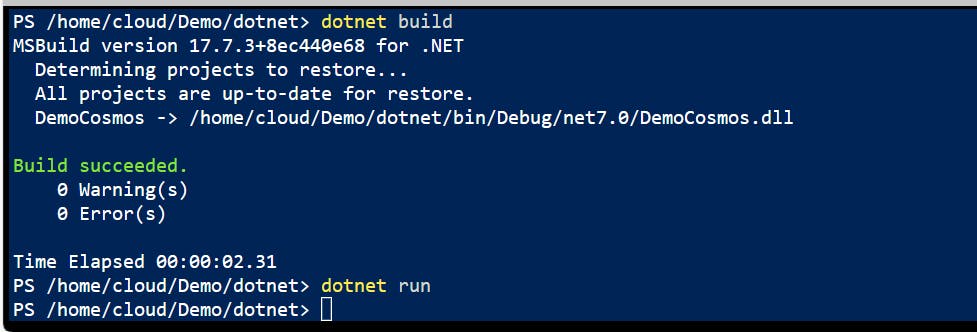
- It's then time to check if the application created a database, a container, and a sample item properly as stated in the C# code. In the portal, go to the Azure Cosmos DB account, click on Refresh, and see that a new container added to the Containers list. I see the "DemoItemsNet" container in my list.

- Click on DemoItemsNet. This opens the Data Explorer for you. You can also click on the Data Explorer item on the left menu.
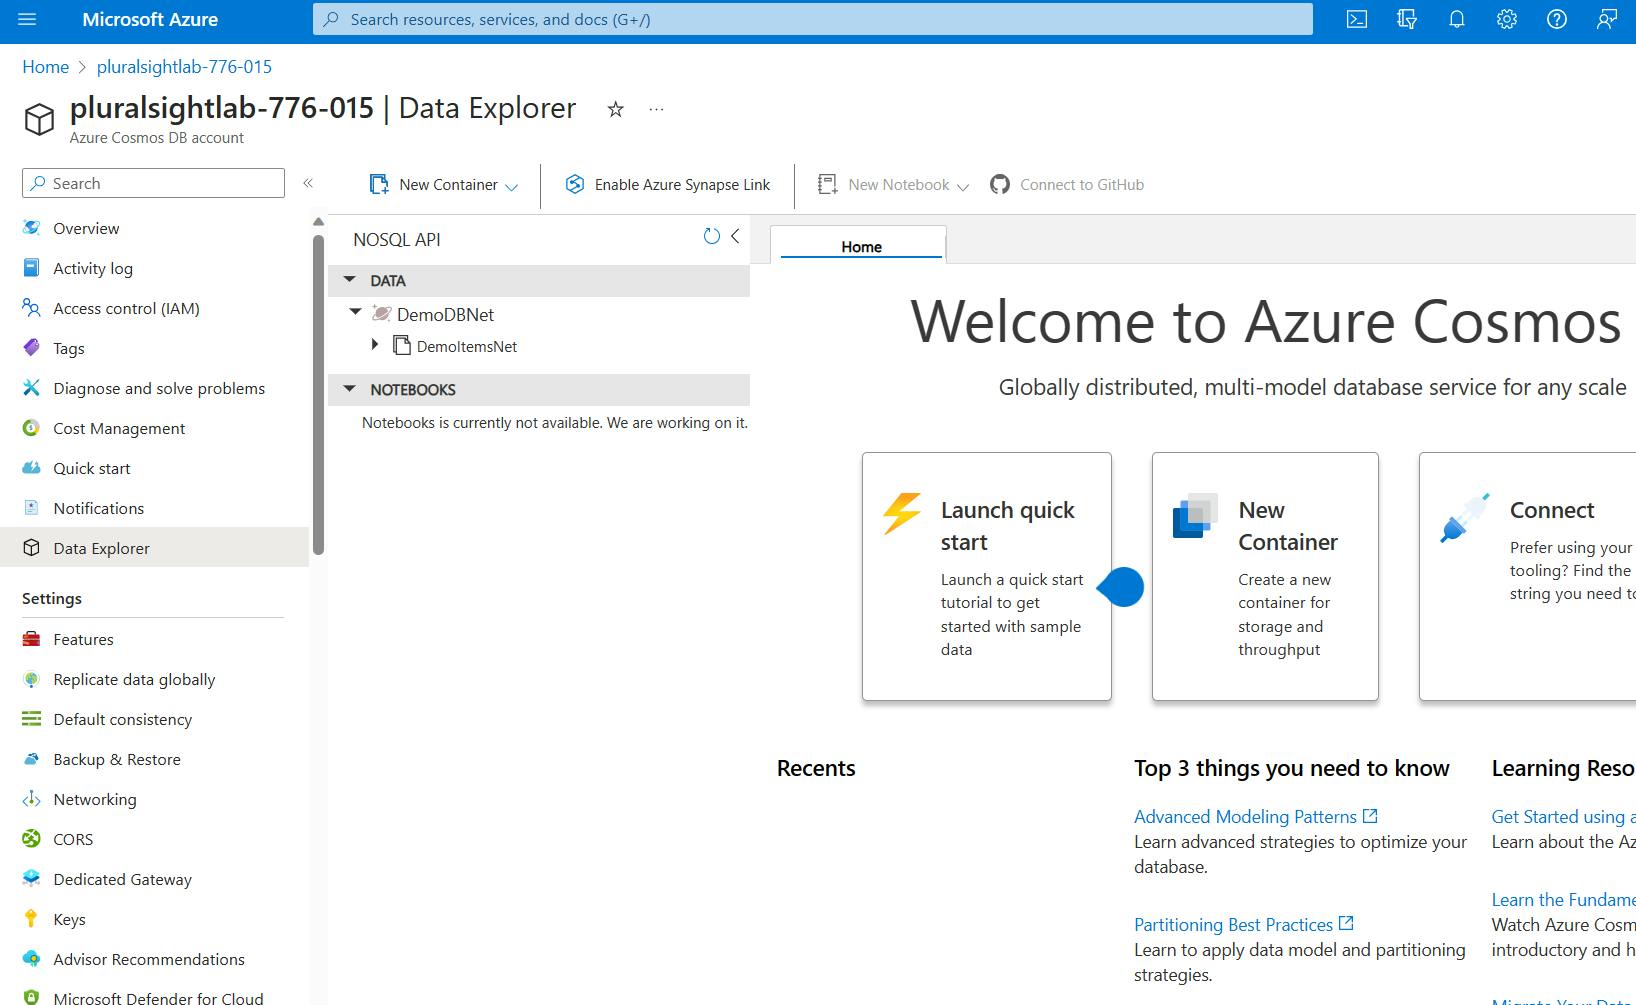
- On the Data Explorer window, expand the Data menu item, and under DemoItemsNet, click on Items. Click on the first item listed on the right explorer window and verify that the item details (in JSON format) match the object properties we had defined in the C# code.

