In this blog post, I'll demonstrate a use-case scenario for Azure Blob Storage by using the Azure SDK with Python. While I'm not a deep expert in Python, I enjoy practicing it in small, non-corporate scenarios. The scenario begins with creating a Python file, installing the Python blob storage library, and then proceeds to execute Python code that creates a container inside Azure Blob Storage. The code also adds a simple blob file to the container. I will outline the steps I took for this demo below.
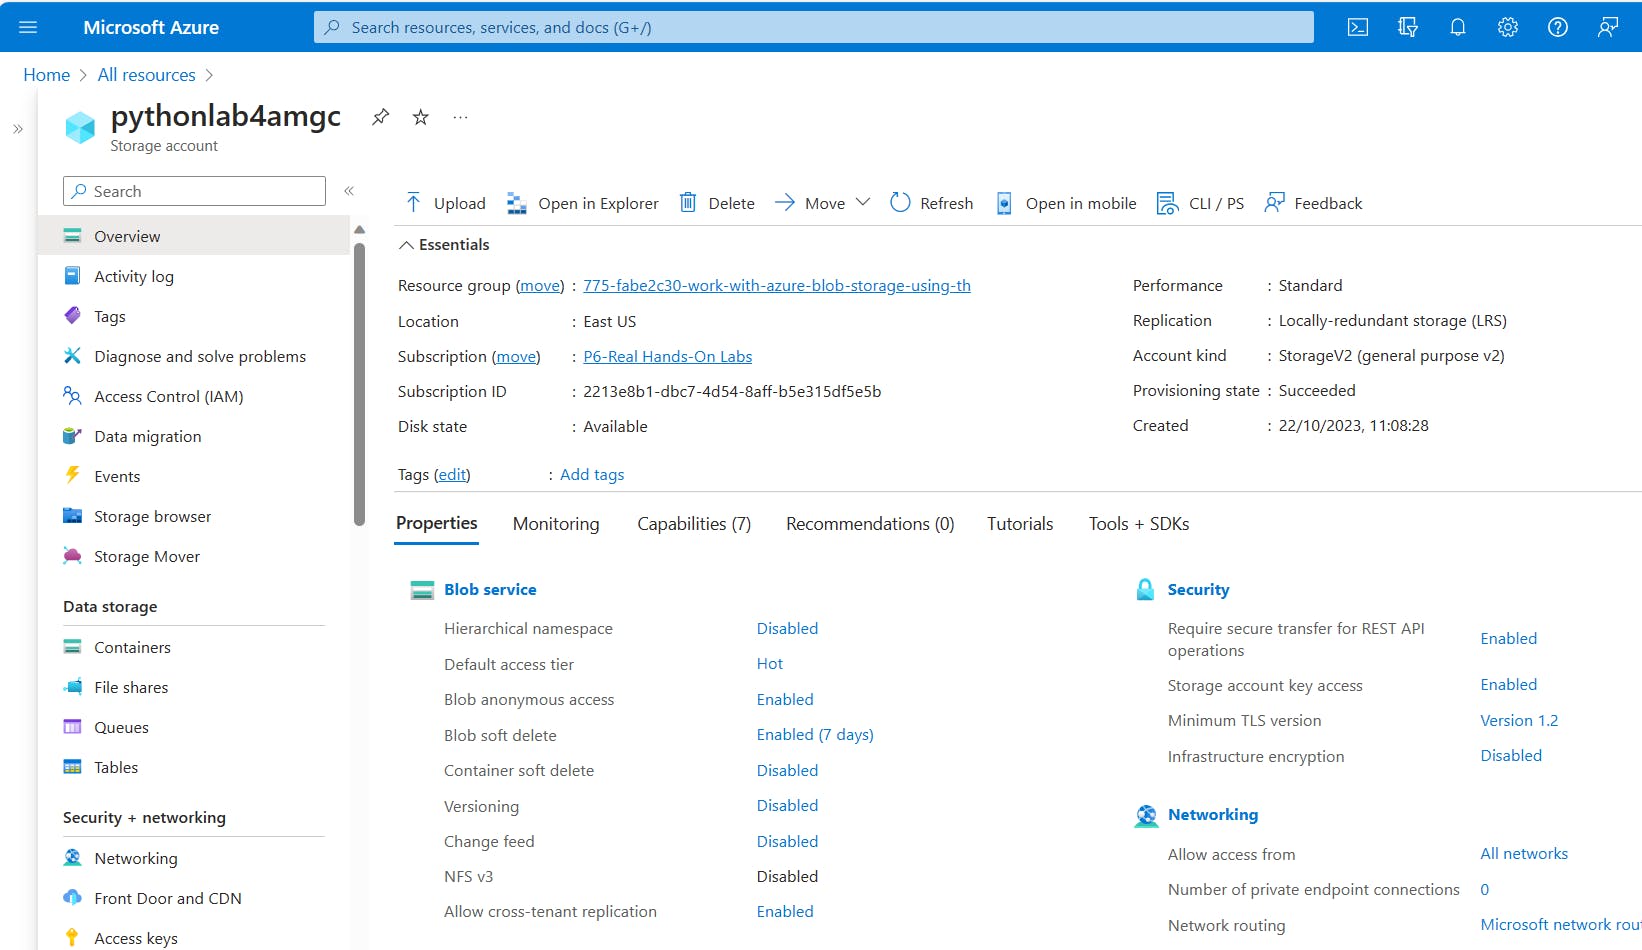
- Create a Storage Account resource in the Azure portal.
Open Cloud Shell in the Azure Portal.
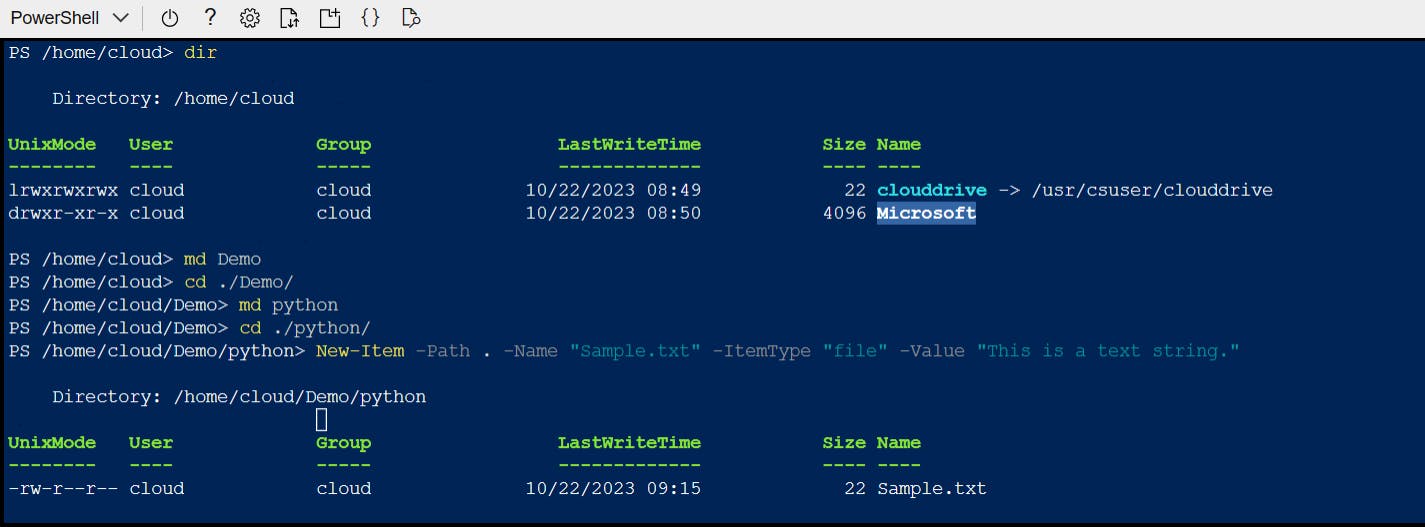
Create a new folder with the name Demo.
Navigate inside the Demo folder and create a new folder with the name python.
Go inside the python folder.
Create a sample .txt file inside python folder as shown below.
- Within the "python" folder, create a new file with a .py extension, as shown in the image below. Next, we will open that file and paste the lines of code that are essential for our demo.
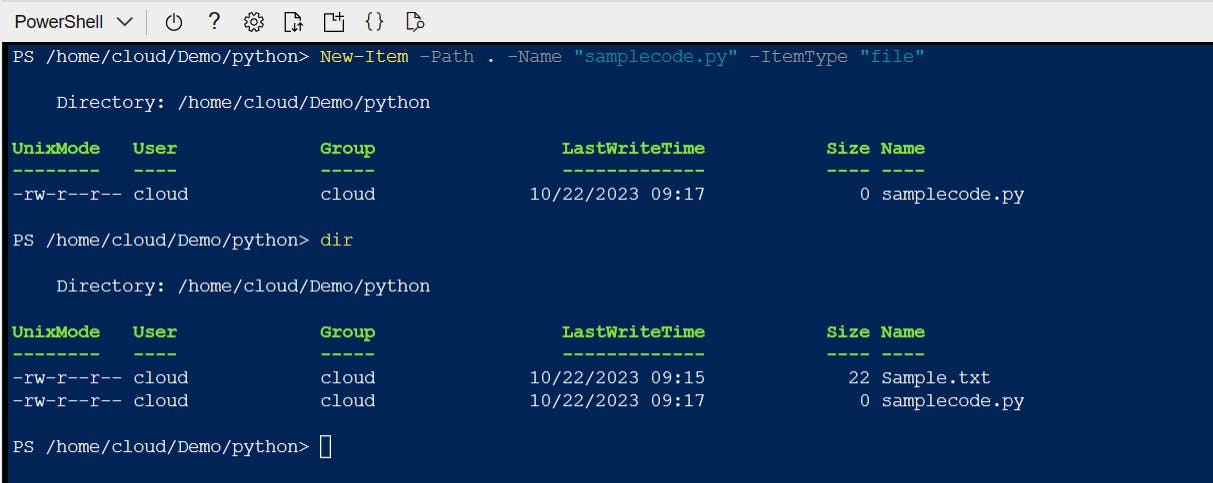
- After creating the samplecode.py file, we are now ready to install the Azure Blob Storage Azure SDK package for Python by running the code below in the Cloud Shell.
pip install azure-storage-blob
- Ensure that the package is installed successfully.

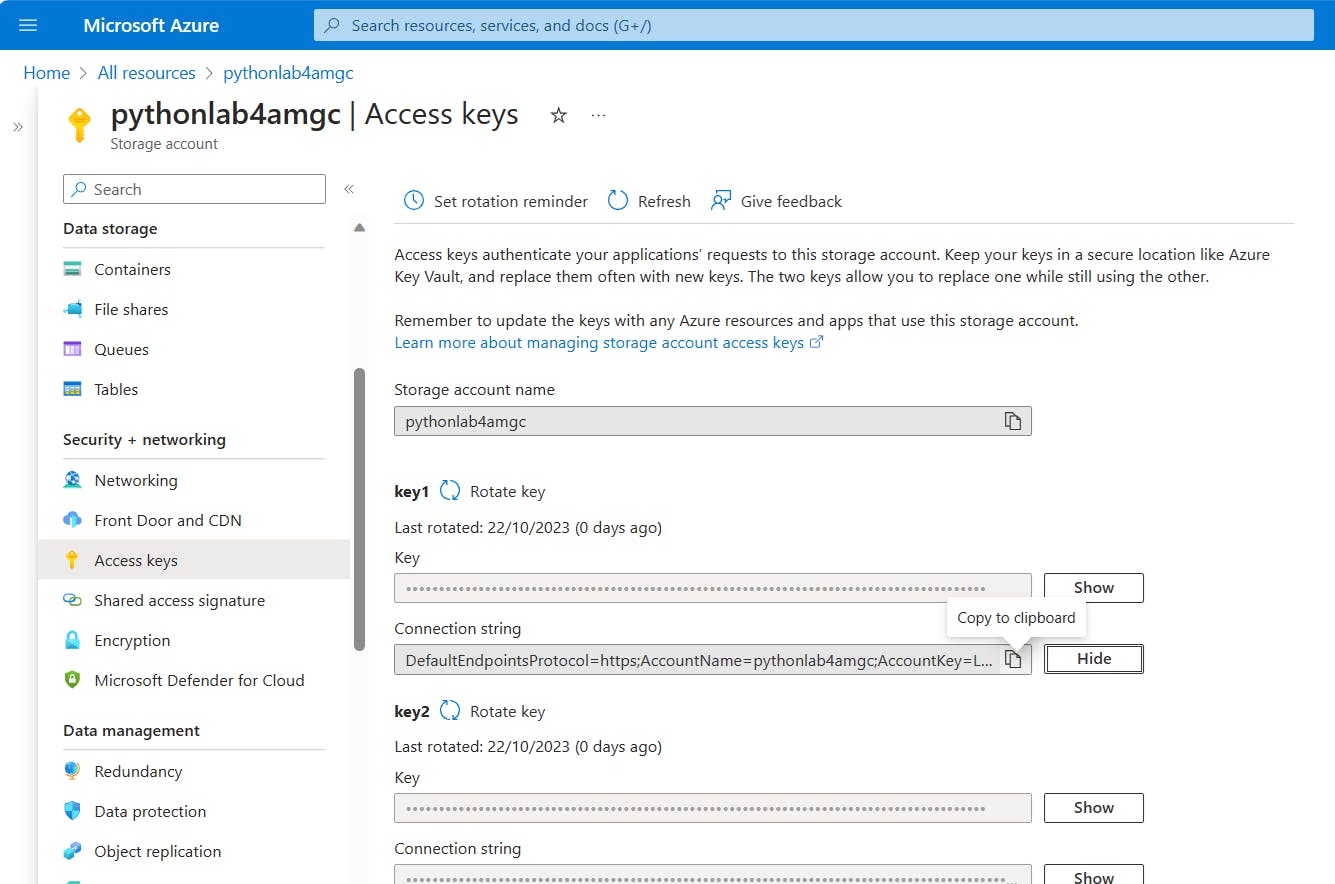
In the samplecode.py file, we'll need to establish a connection to our Blob Storage, and this way we'll be able to create a blob container in it. To do that we'll need a connection string. To get the connection string;
In the Azure portal, go to the storage account page.
From the left menu, select Access keys.
Copy the first connection string to be used later.
It's time to focus on the samplecode.py file and paste the code we need to do the necessary operations.
In the Azure portal, open the Cloud Shell. Click on the "{}" symbol in the top menu of the shell console which opens a Visual Studio Code-like code editor window that enables us to view, edit, and save files on the browser window.
In the code editor navigate to the Demo > python folder.
Open the samplecode.py file in the editor, paste the code below in it and Save.
We first define the connection string and source file variables at the top of the code. Don't forget to copy and paste the connection string we copied earlier.
In the operations function, we first create a blob service client (my_blob_service_client) which creates a connection to our Storage Account. By the blob service client, we create a container and this returns a container client. The container client enables us to create a blob inside the container by returning a blob client object in the response. Finally, with the blob client, we upload a pre-defined blob file (Sample.txt) to our blob container.
import os

class MyBlobClass(object):

    my_connection_string = "YOUR_CONNECTION_STRING"
    source_file = "Sample.txt"

    def operations(self):

        from azure.storage.blob import BlobServiceClient
        my_blob_service_client = BlobServiceClient.from_connection_string(self.my_connection_string)

        my_container_client = my_blob_service_client.create_container("democontainer")

        my_blob_client = my_container_client.get_blob_client("demoblob")

        with open(self.source_file, "rb") as data:
            my_blob_client.upload_blob(data, blob_type="BlockBlob")

example=MyBlobClass()
example.operations()
- Once the samplecode.py is ready we can run it with the "python samplecode.py" command.

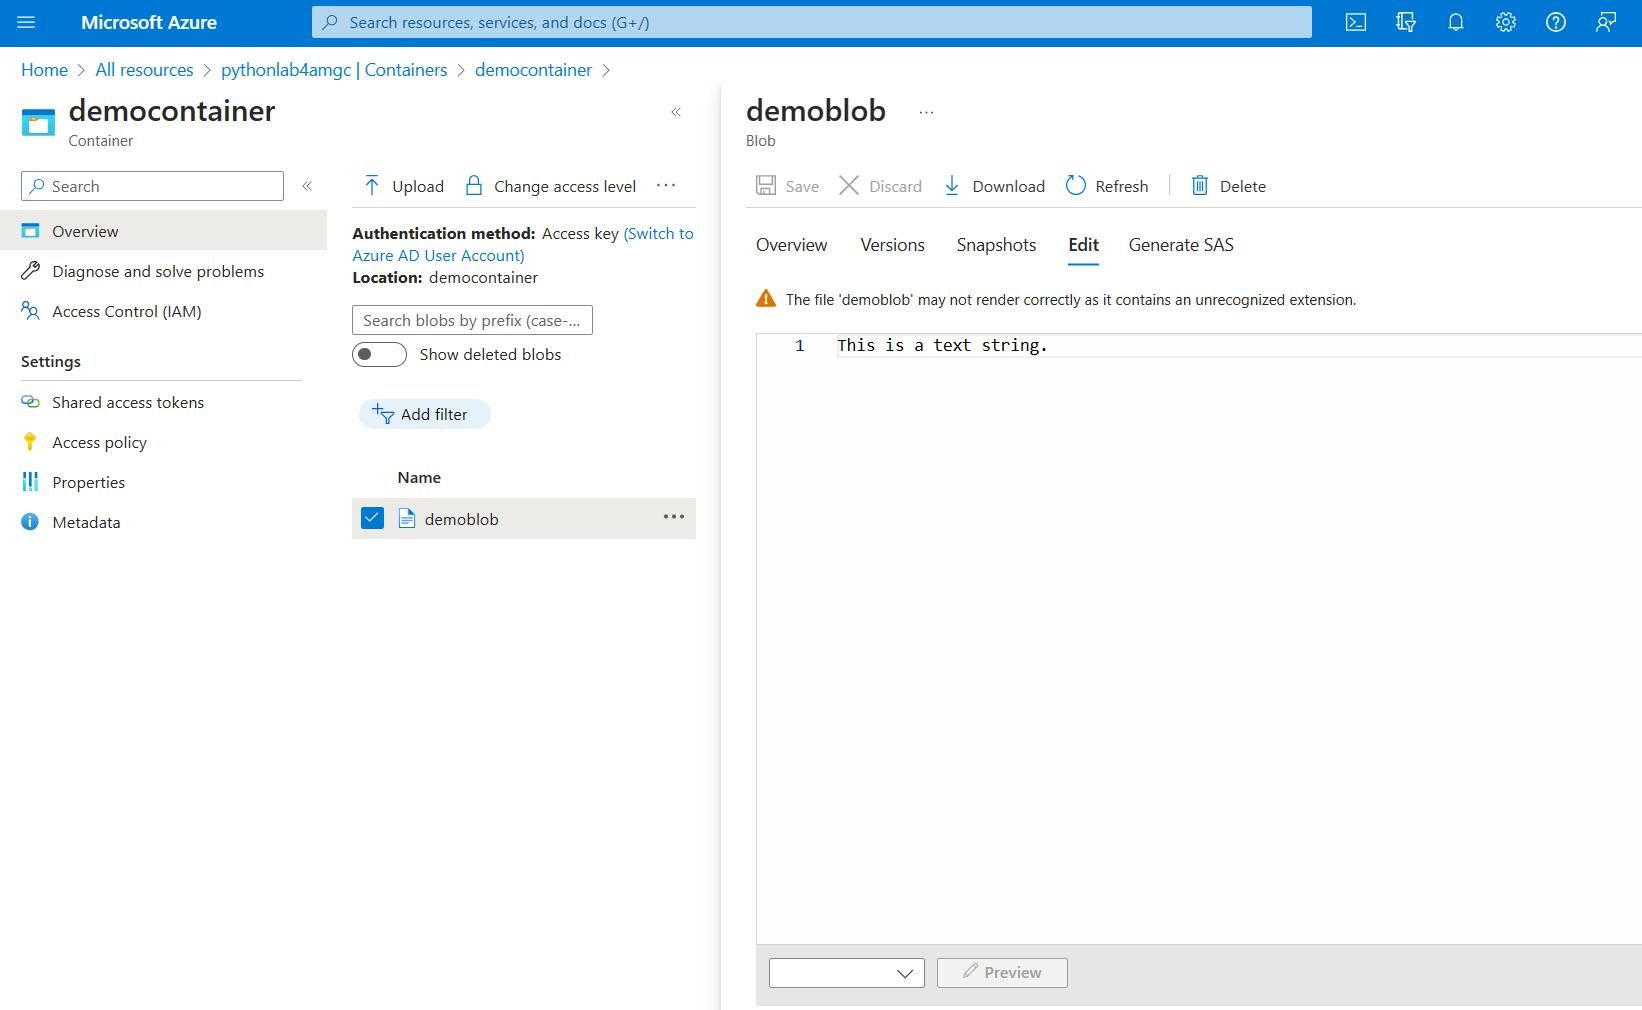
- We can then go to the Azure portal, open the Storage Account, and on the left menu click on Containers. The newly created blob container must be listed on the Containers page. Click on the "democontainer".
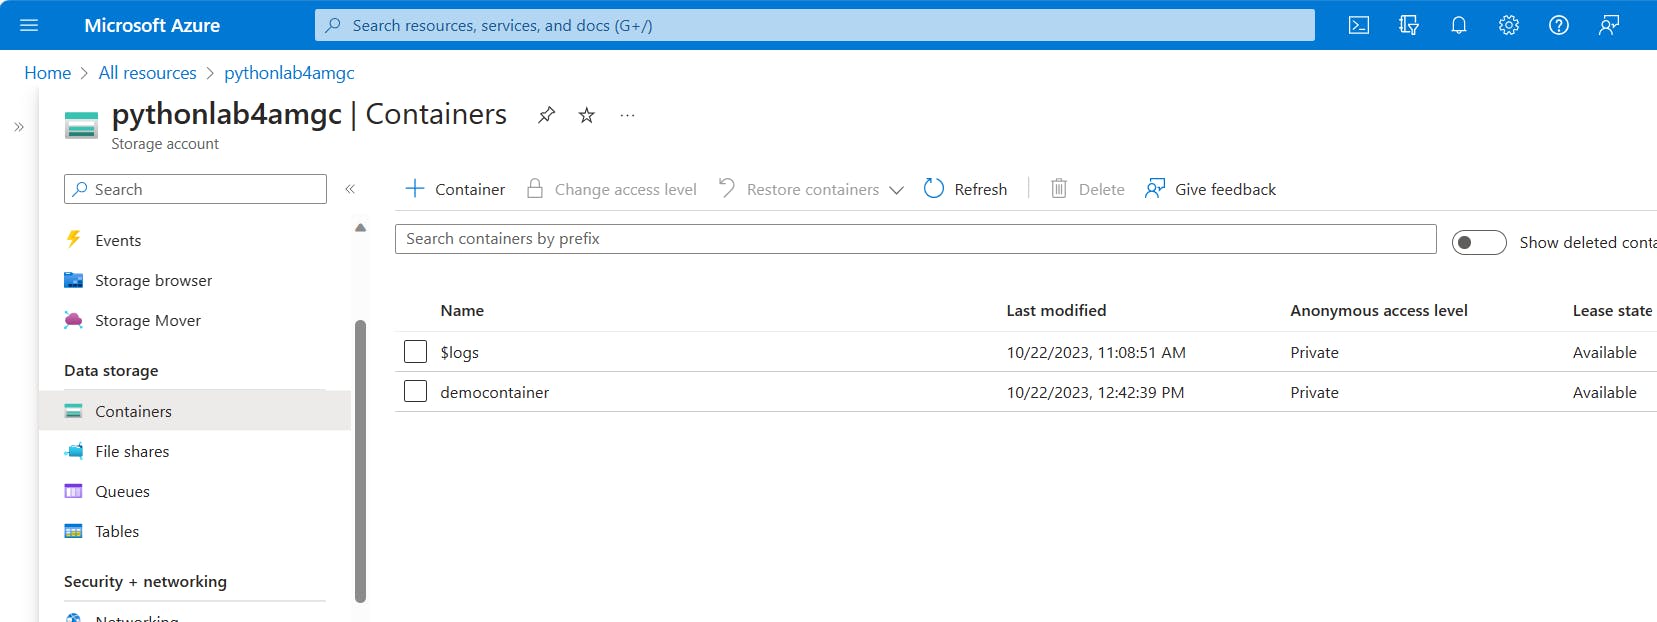
- Select the blob file we've just uploaded by running the Python code. On the opening panel, click Edit and compare the content of the 'demoblob.txt' file with that of the 'Sample.txt' file. That's it! We've successfully completed our sample demo scenario.
